







I have been using science interactive notebooks since my first year of teaching. I had a wonderful, wonderful, wonderful science teaching coach who was all about using science interactive notebooks in the classroom. It was a bit of a struggle for me to get them going. Some years were better than others for implementing them, but over the years I have learned a few tips and tricks. Today I wanted to share them with you.
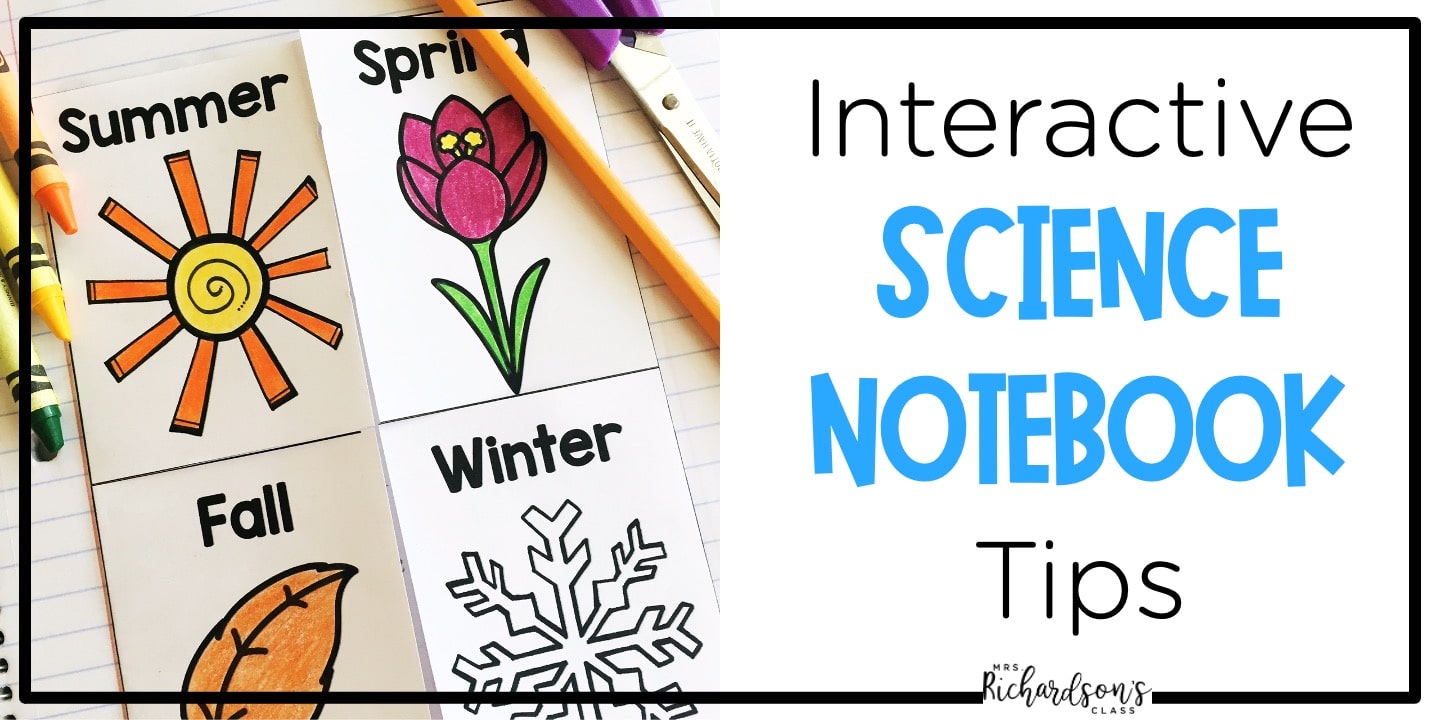
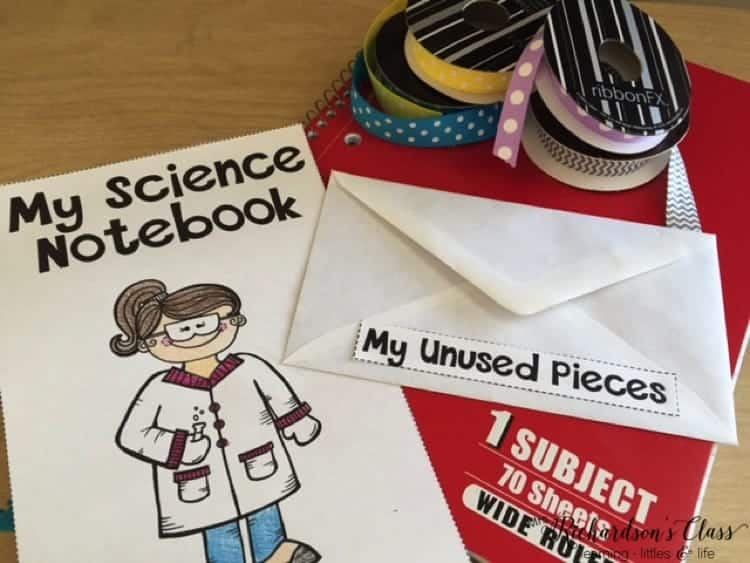
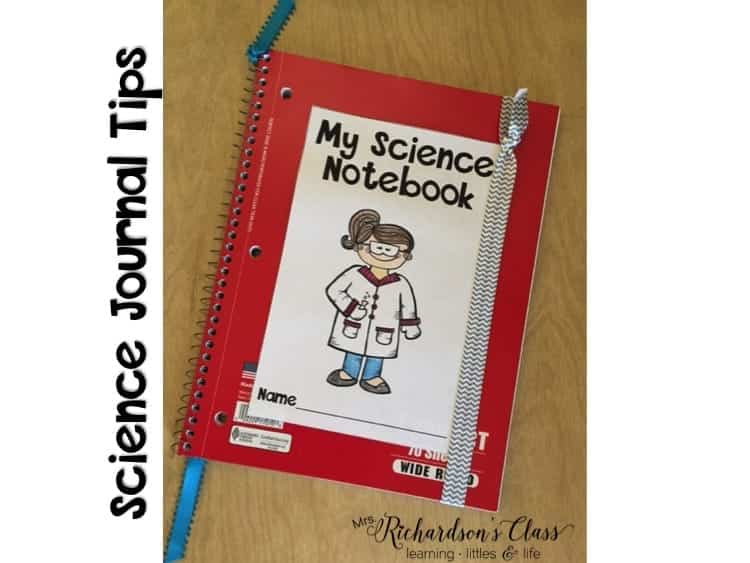
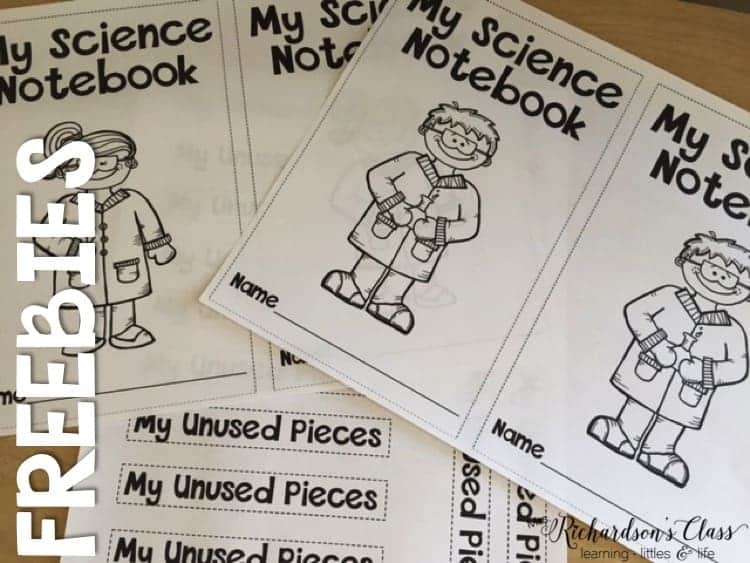
I like to do this by giving them a cover to color and decorate however they would like. I glue the cover on. What would be helpful is also using packing tape to cover it. This would make it last a little longer!
Sometimes my students wouldn’t be able to finish gluing their pieces in their science interactive notebooks and I would have to pass out baggies for them. The baggies would get lost in their desks or chair bags and I would constantly have to make them more copies.
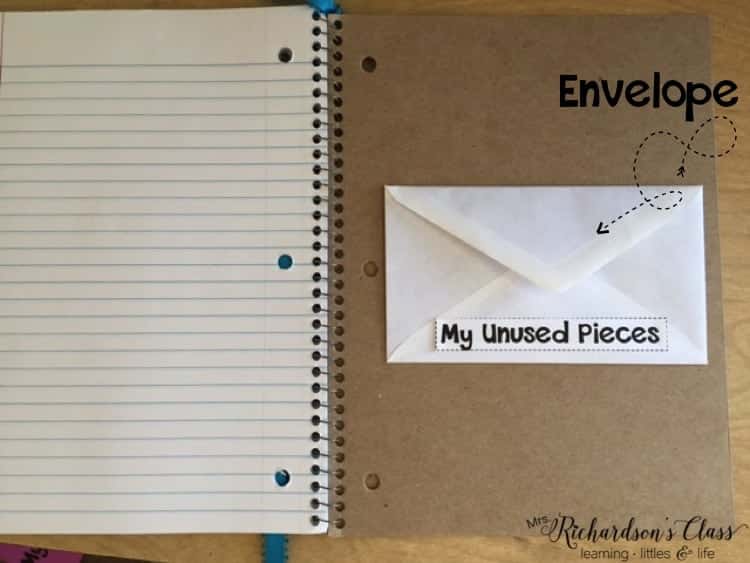
Take a small envelope and glue it inside the back of the spiral notebook. This helps keep their pieces right where they need them, in their notebooks! You can use the label for the envelope, too!
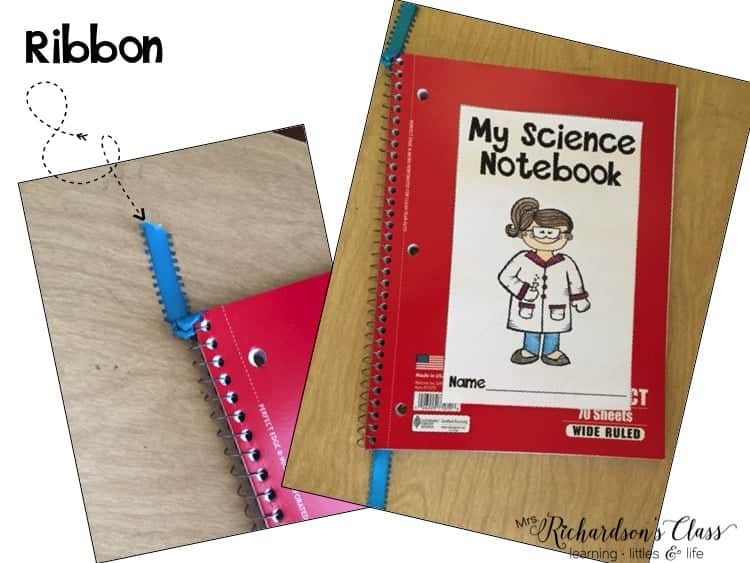
I always liked for their flip book pages to be in the order that we learned about concepts. This was helpful because there were times we would make connections in our learning and flip back to our notebooks to review what we had learned. We always tried to keep a table of contents, but that was hard at times. It was important that we did not skip pages. By adding a piece of ribbon as a bookmark, the students were able to easily know where their next flip book needed to be glued inside our science interactive notebooks.
To do this, cut a piece of ribbon longer than the length of the notebook. Then, tie it at the top of the spiral. A simple knot always did the trick! Then, move it to where you are. You can provide different colors of ribbon for students to choose from, too.
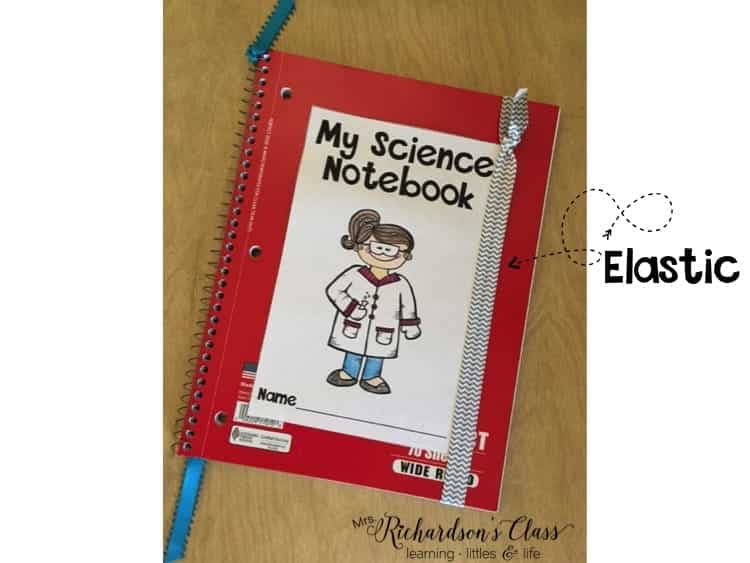
The notebooks get THICK pretty quick! Think about it–we were adding more paper, glue, and more paper to the notebook! Some students were super neat, but not everyone. Students would shove them in their desks or chair bags and they would get bent and pages would get torn. I found that having something that kept the notebook closed was super helpful in making it last all year. This also helps keeps the notebook nice and neat.
To make this, simply cut the piece of elastic and tie it together to make a big circle. Then, stretch it over the edge of your students science interactive notebooks!
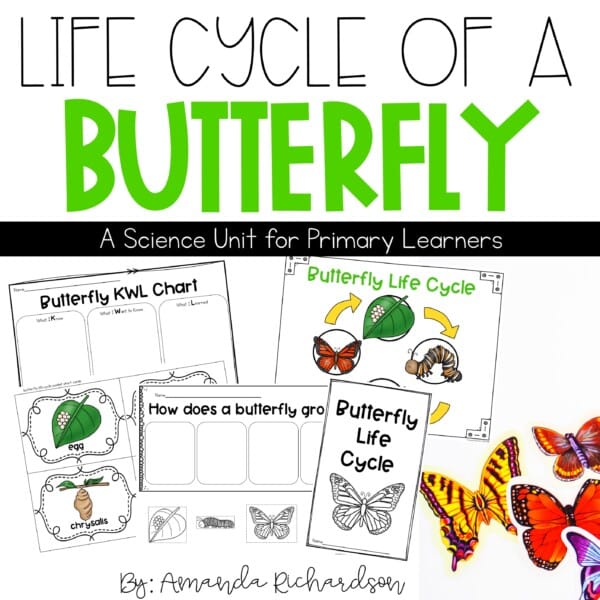
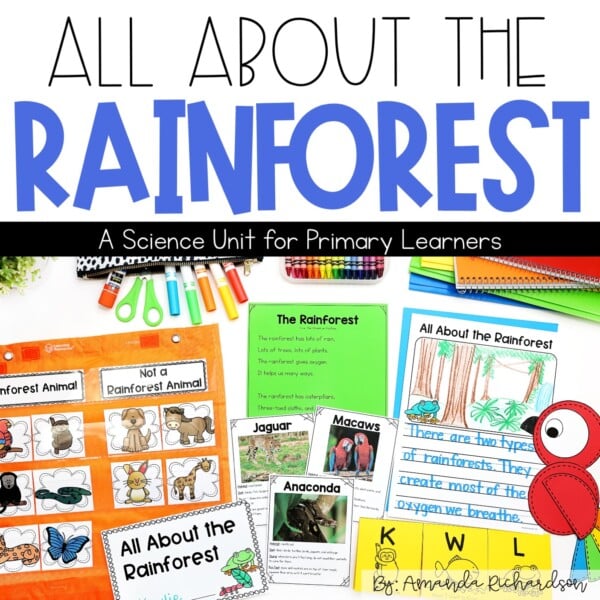
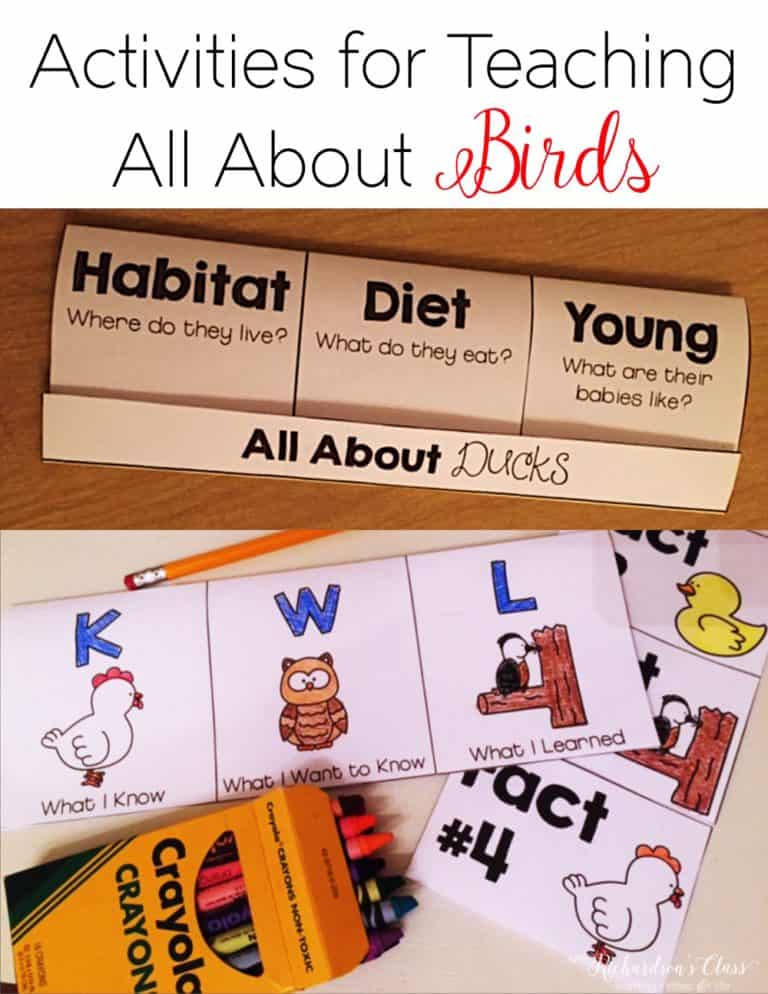
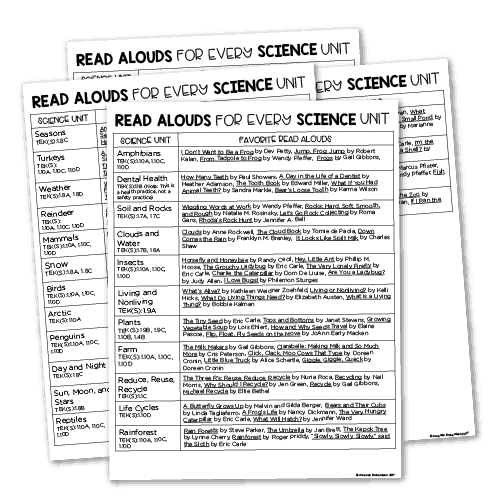
If you are looking for interactive science activities for your science interactive notebooks, check out this BUNDLE that will have you set for the year! So many skills are included from life cycles to plants to forms of energy to weather to properties of matter and more!

click the image above to check it out
Are you in need of science journal covers? Grab mine HERE for FREE!
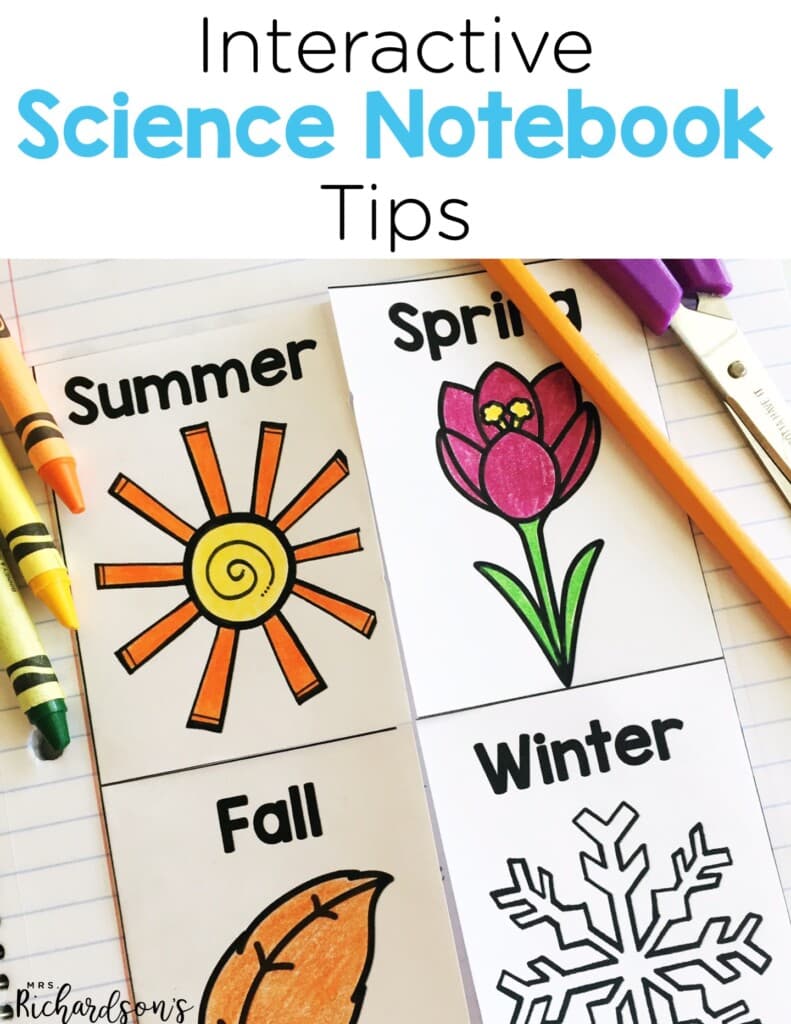
I hope these tips get you excited about implementing science interactive notebooks with your students! My students always LOVE them!
Be sure to check out my Reading Tips for the Beginning of the Year post!










12 Responses
Very cute! Is there anyway you can email me the original, so that I can put it in Spanish?
Thank you,
Yanett
Hi Yanett! Thank you! Unfortunately I am unable to email you an original copy because it violates the Terms of Use for the clip artists. The science journal cover is available in Spanish in this set of science flip books. https://www.teacherspayteachers.com/Product/Science-Interactive-Notebook-Part-1a-SPANISH-2061849 I hope this helps! 🙂 Amanda
Do you have an interactive science journal for Kindergarten?
Do you have a bundle for Kindergarten science interactive journal?
Hi Susan! I do not have one specific for Kinder. I created the 1st grade set as I taught first grade and then the following year when I moved to kindergarten, I was able to use many of the components during the 2nd semester with my kinder kids! 🙂