







There is just something about bats that gets little learners excited! Whether you are learning about nocturnal animals, diving into a fall science unit, or simply looking for an engaging October science activity, bats offer so many opportunities to bring science to life.
One of my favorite ways to do this is with a hands-on bat science experiment. Instead of simply telling students how echolocation works, we can give them a visual model that helps them actually see what happens when waves meet an object.
And the best part? You can do it with simple classroom materials!
Before beginning your bat science experiment, spend some time building background knowledge.
Write the word “echolocation” where students can see it. Ask students if they have ever heard the word before and what they think it might mean.
Then break it apart: echo + location.
Many bats use echolocation by producing very high-frequency sounds and listening to the echoes that return after those sounds encounter objects. This helps bats navigate and locate food, even in darkness. Smithsonian Institution
For young scientists, I like to make this as visual as possible.
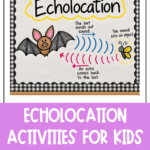
Draw a simple bat on chart paper. Add curved lines traveling from the bat toward an insect or tree. Then draw lines traveling back toward the bat.
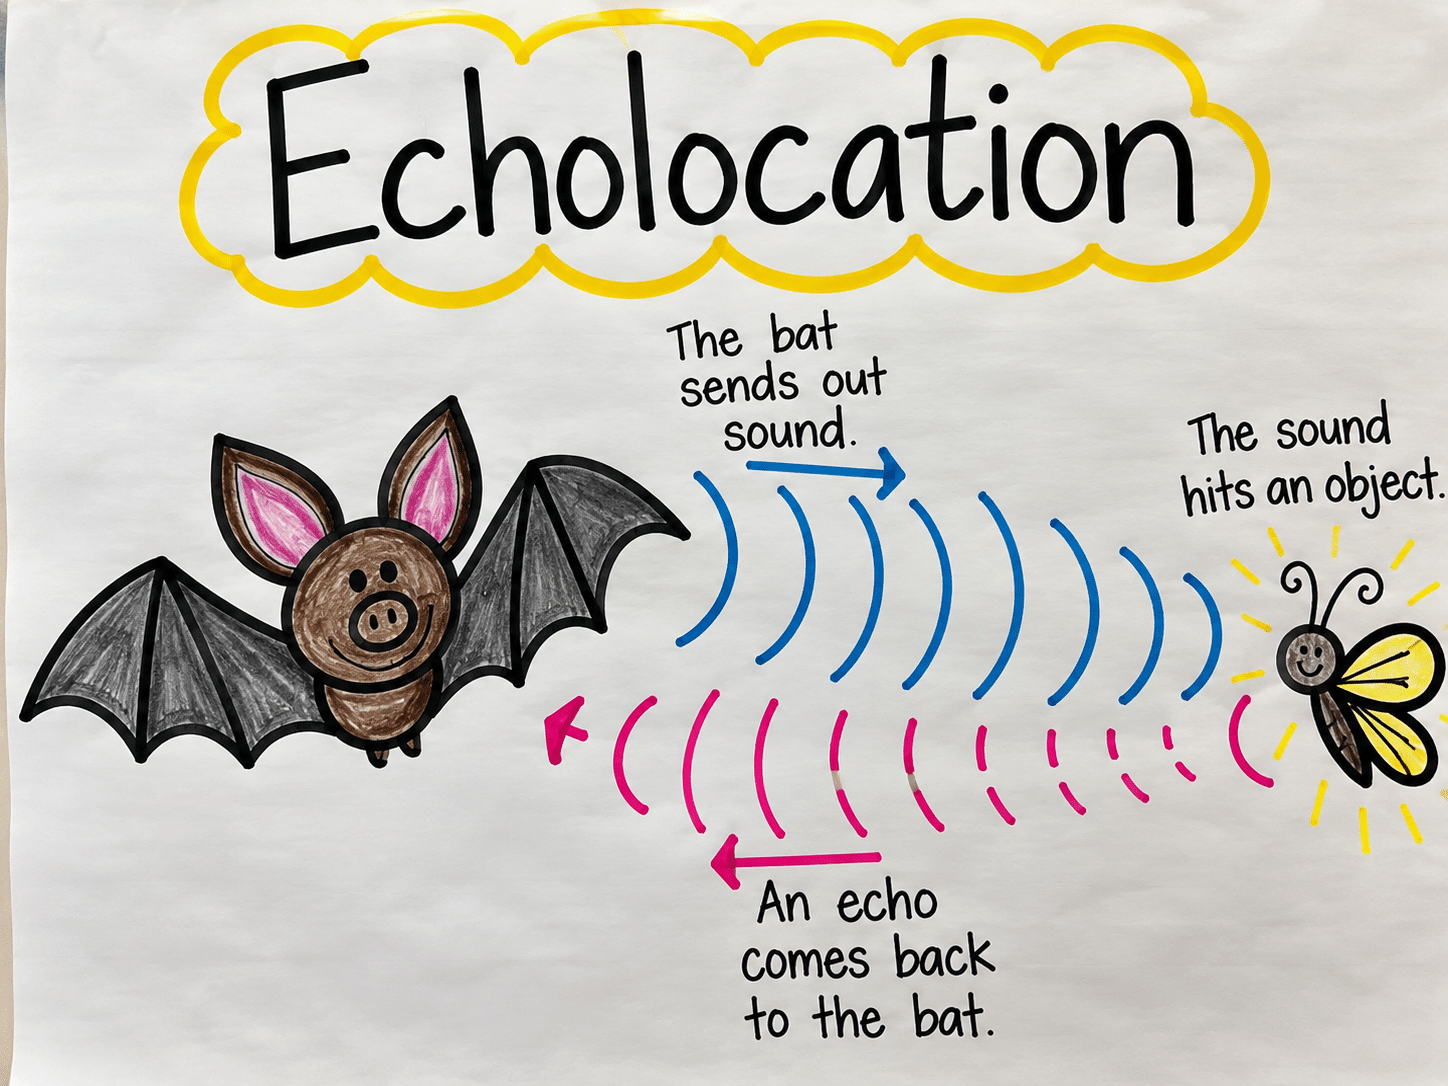
You can explain it simply. “The bat sends out sound. The sound reaches something and an echo comes back. The bat listens to that echo for information about what is around it.”
Now it’s time to investigate!
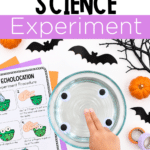
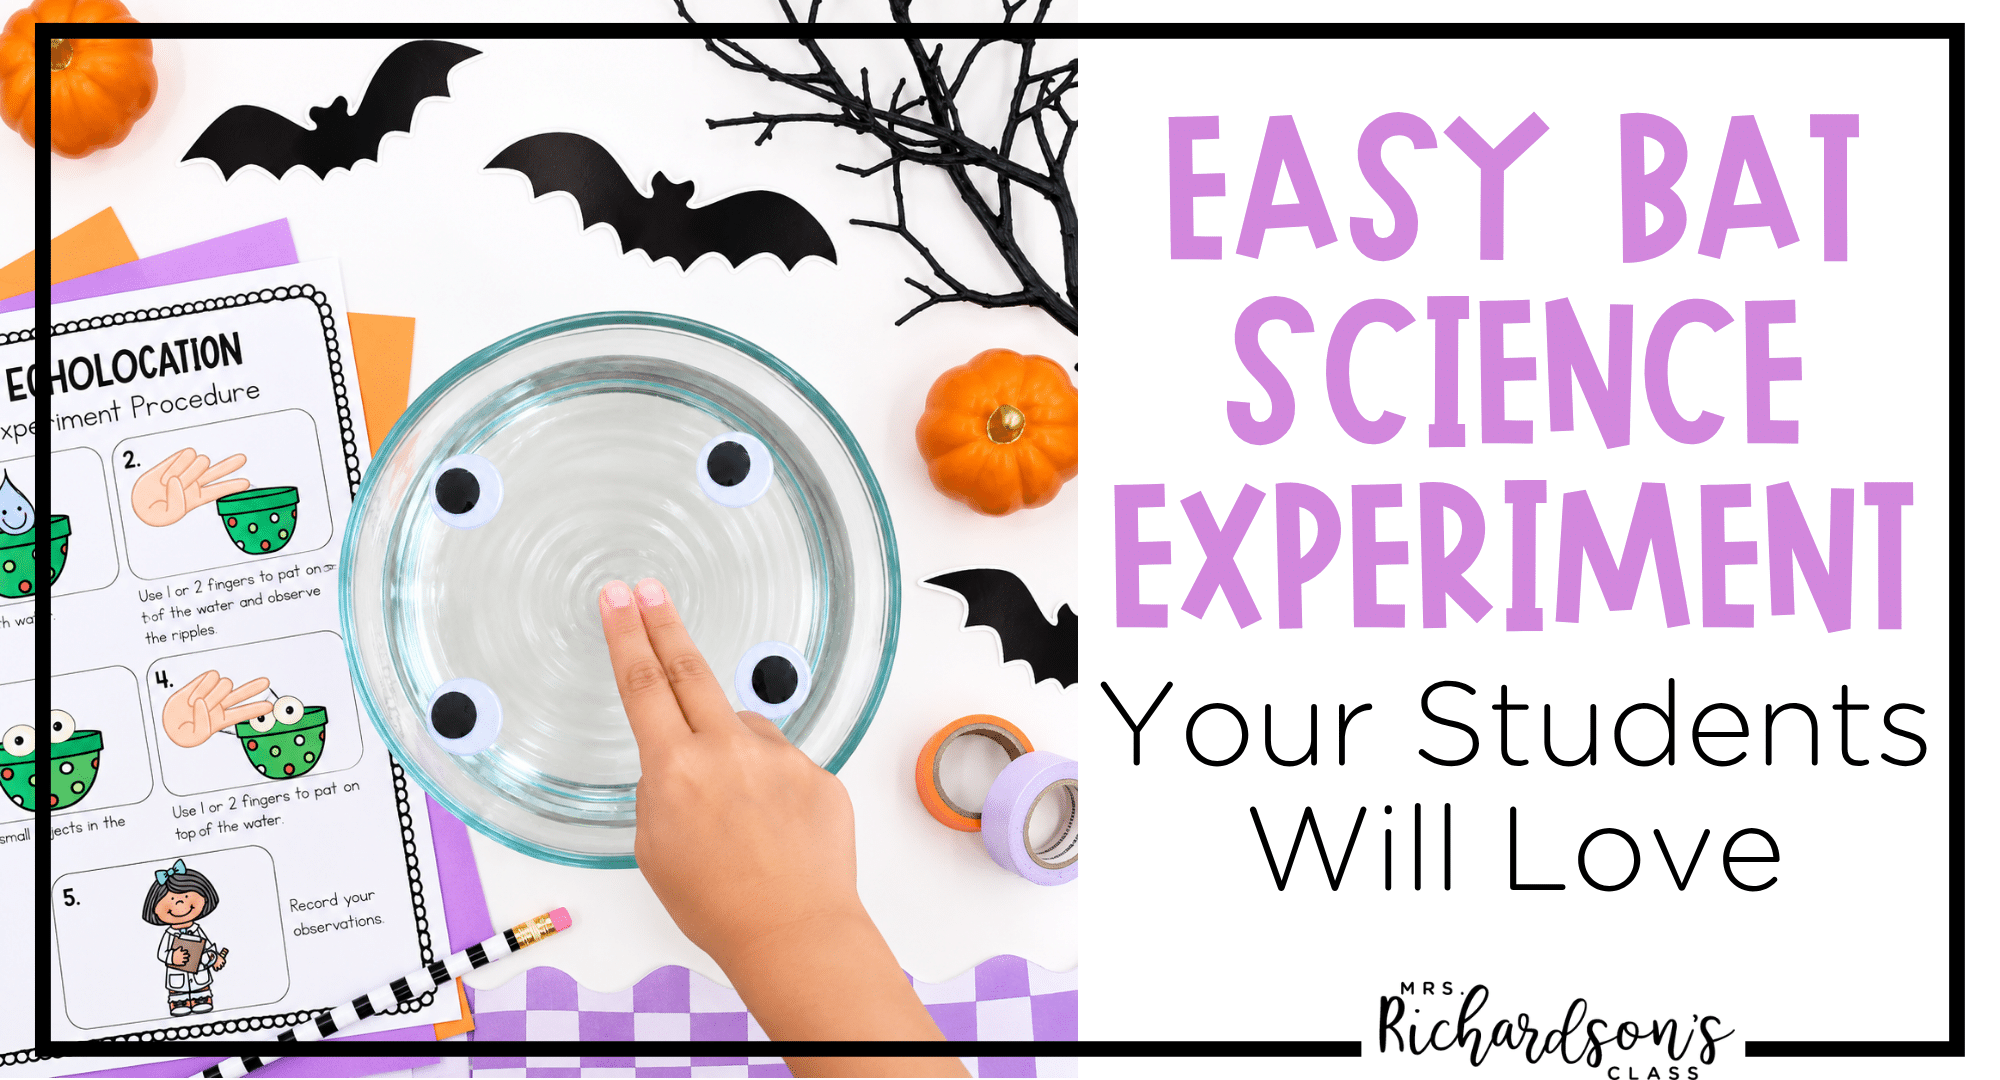
For this bat science experiment, students use a bowl of water to create a visual model of waves traveling through an environment.
Begin by letting students observe what happens when you gently create ripples in the water.
Ask:
Then add small floating objects to the water and repeat the investigation.
This is where the magic happens!
Students can observe how the ripples interact with the objects rather than continuing uninterrupted across the water. This gives you a concrete model for discussing something students cannot actually see, which are the sound waves.
Be careful to explain that water ripples and sound waves aren’t exactly the same thing. We are using the ripples as a model to help us think about what happens when a wave encounters an object.
From there, students can record their observations during the bat science experiment and discuss how their model connects to bats.
After the experiment, get your students up and moving!
Try a simple “Bat and Moth” listening game. One student can represent the bat while another represents the moth. The “bat” uses sound cues to determine where the “moth” is located.
Texas Parks and Wildlife recommends a similar activity in which the bat calls “bat” and the moth responds “moth,” allowing students to simulate using sound to locate something they cannot see. You can see more details here! Texas Parks & Wildlife Department
Just remind students that this game is a model of echolocation. Real bats aren’t waiting for moths to call back! The bat’s own sound reflects from objects and returns as an echo.
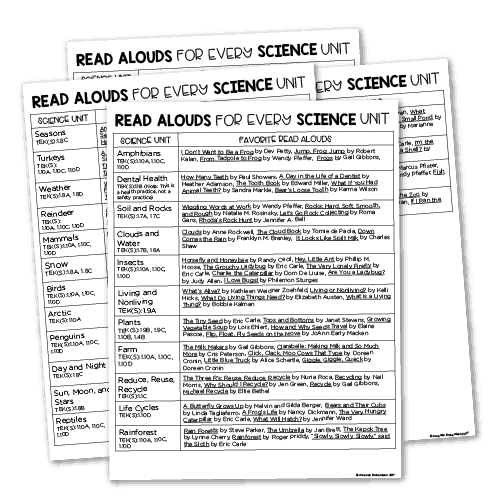
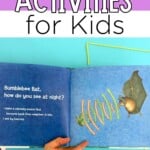
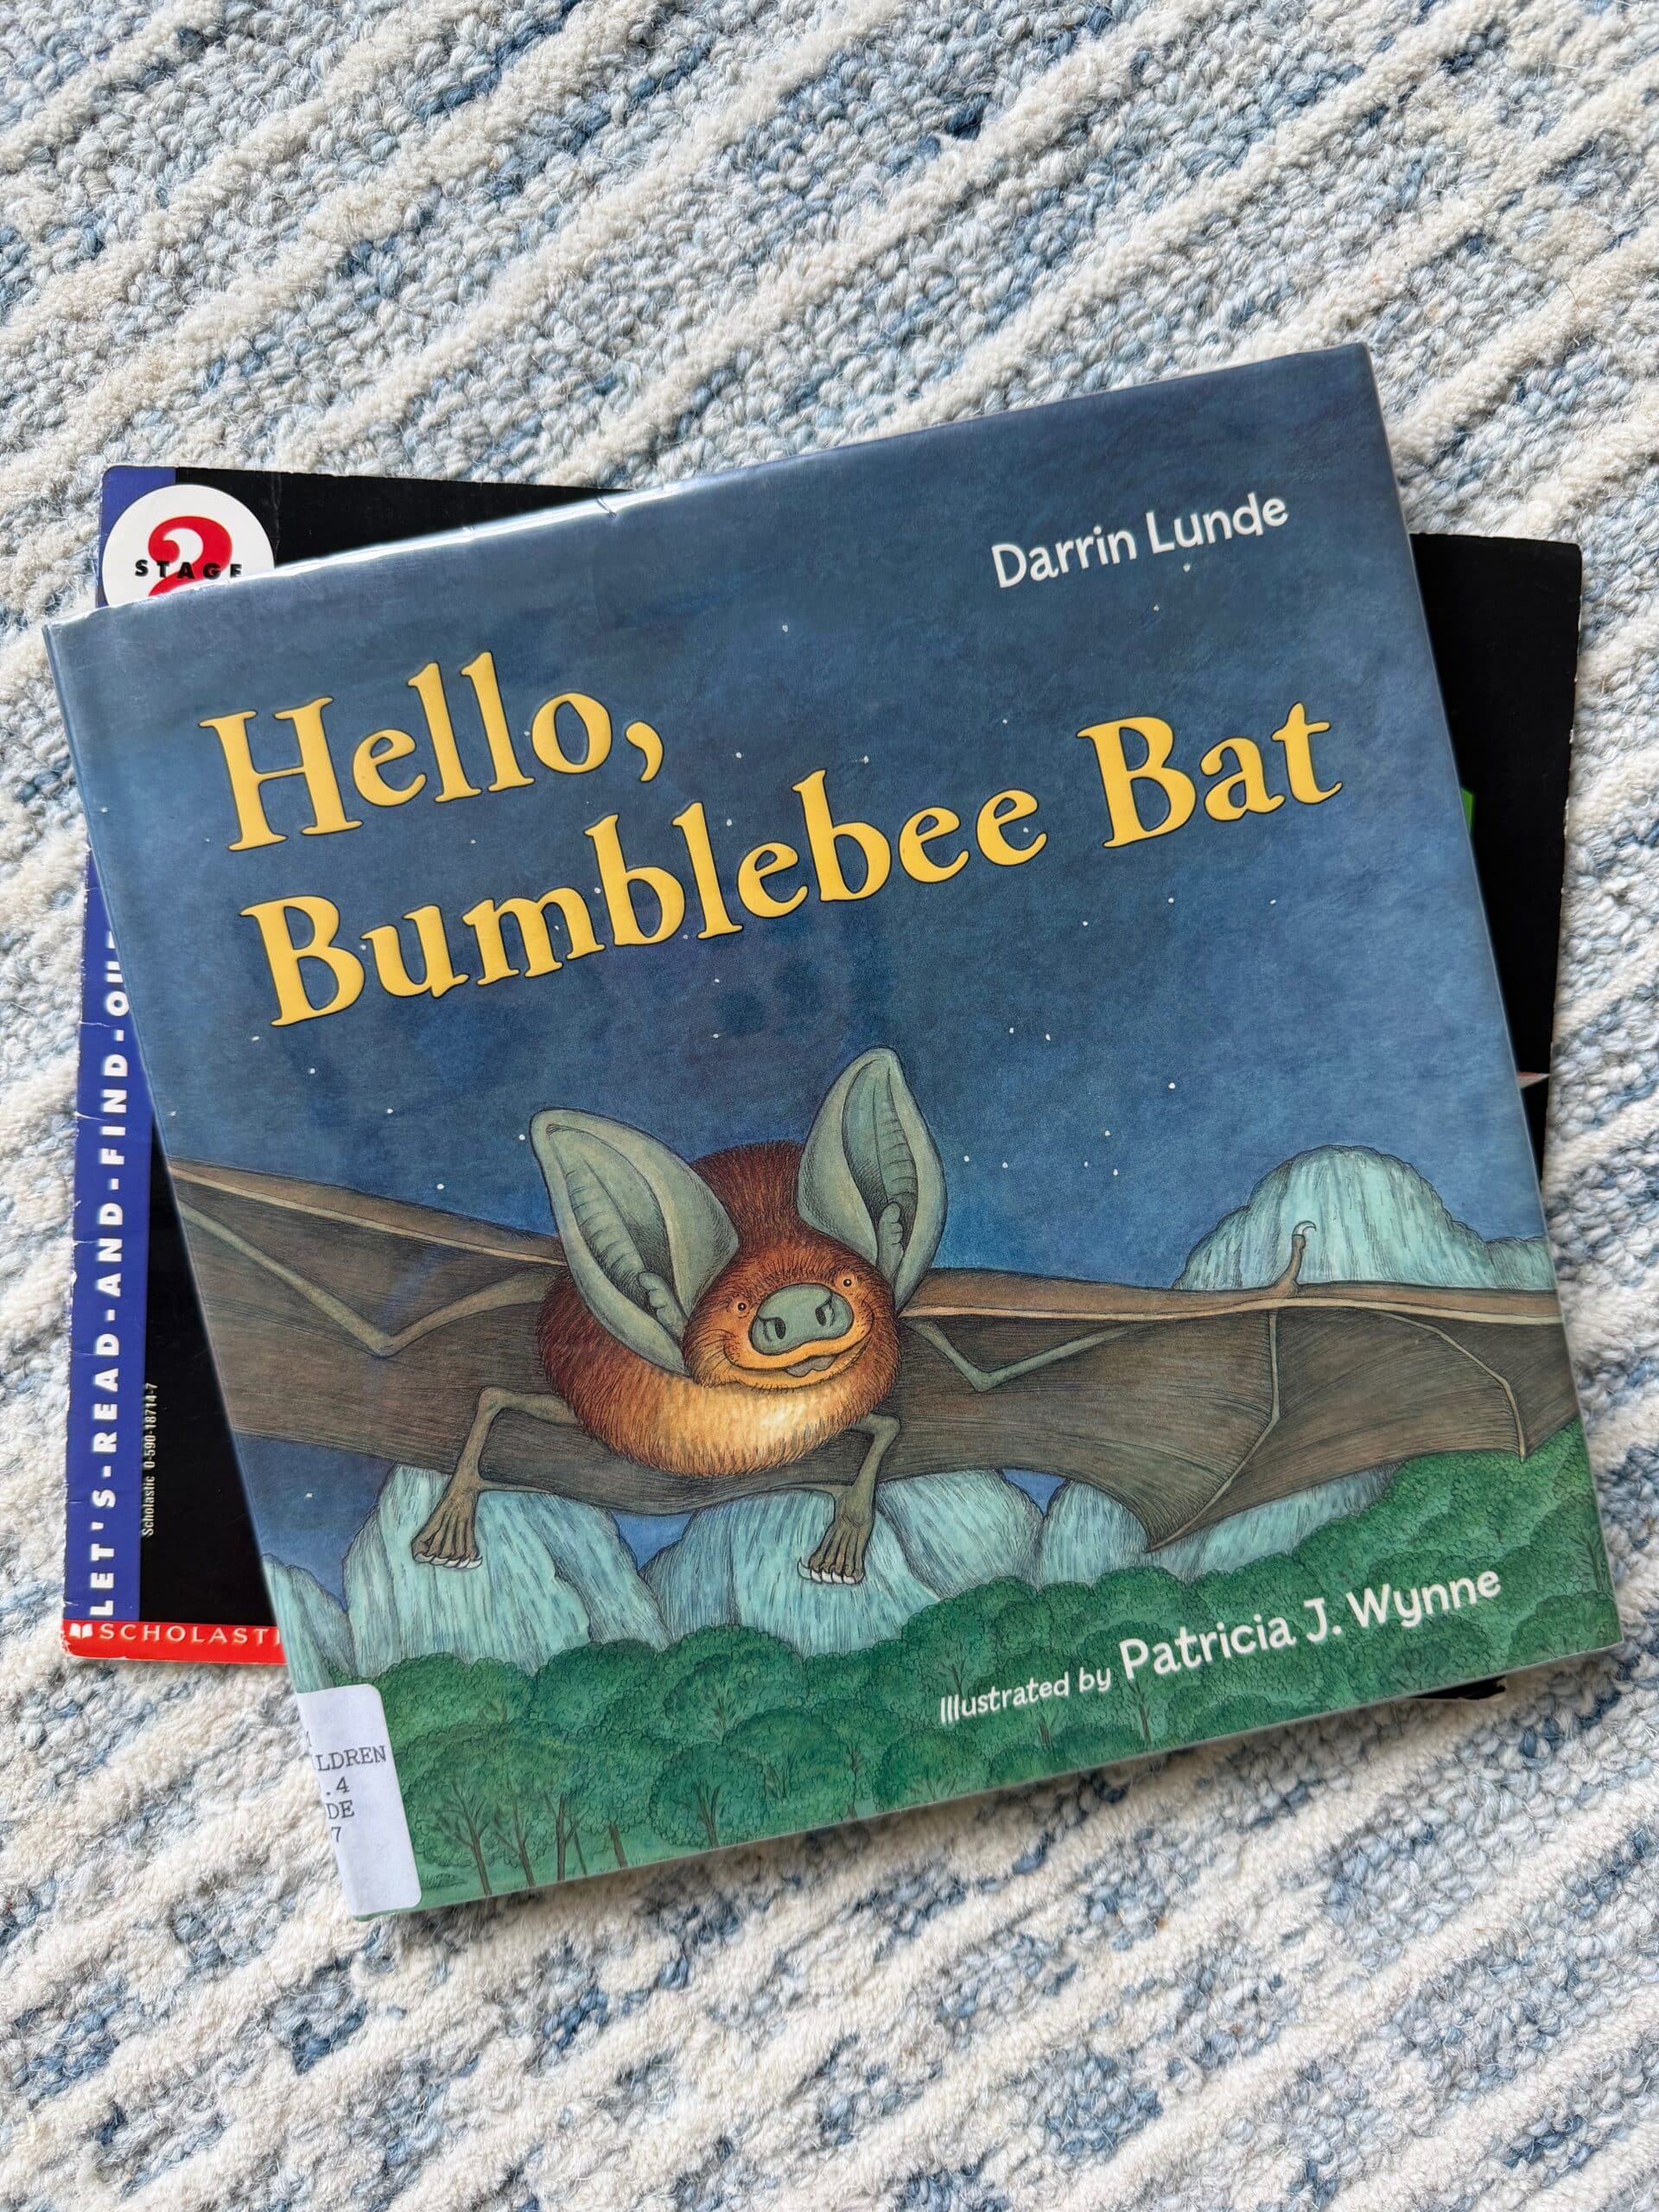
Of course, I love pairing science with a great read aloud!
A few books to consider are:
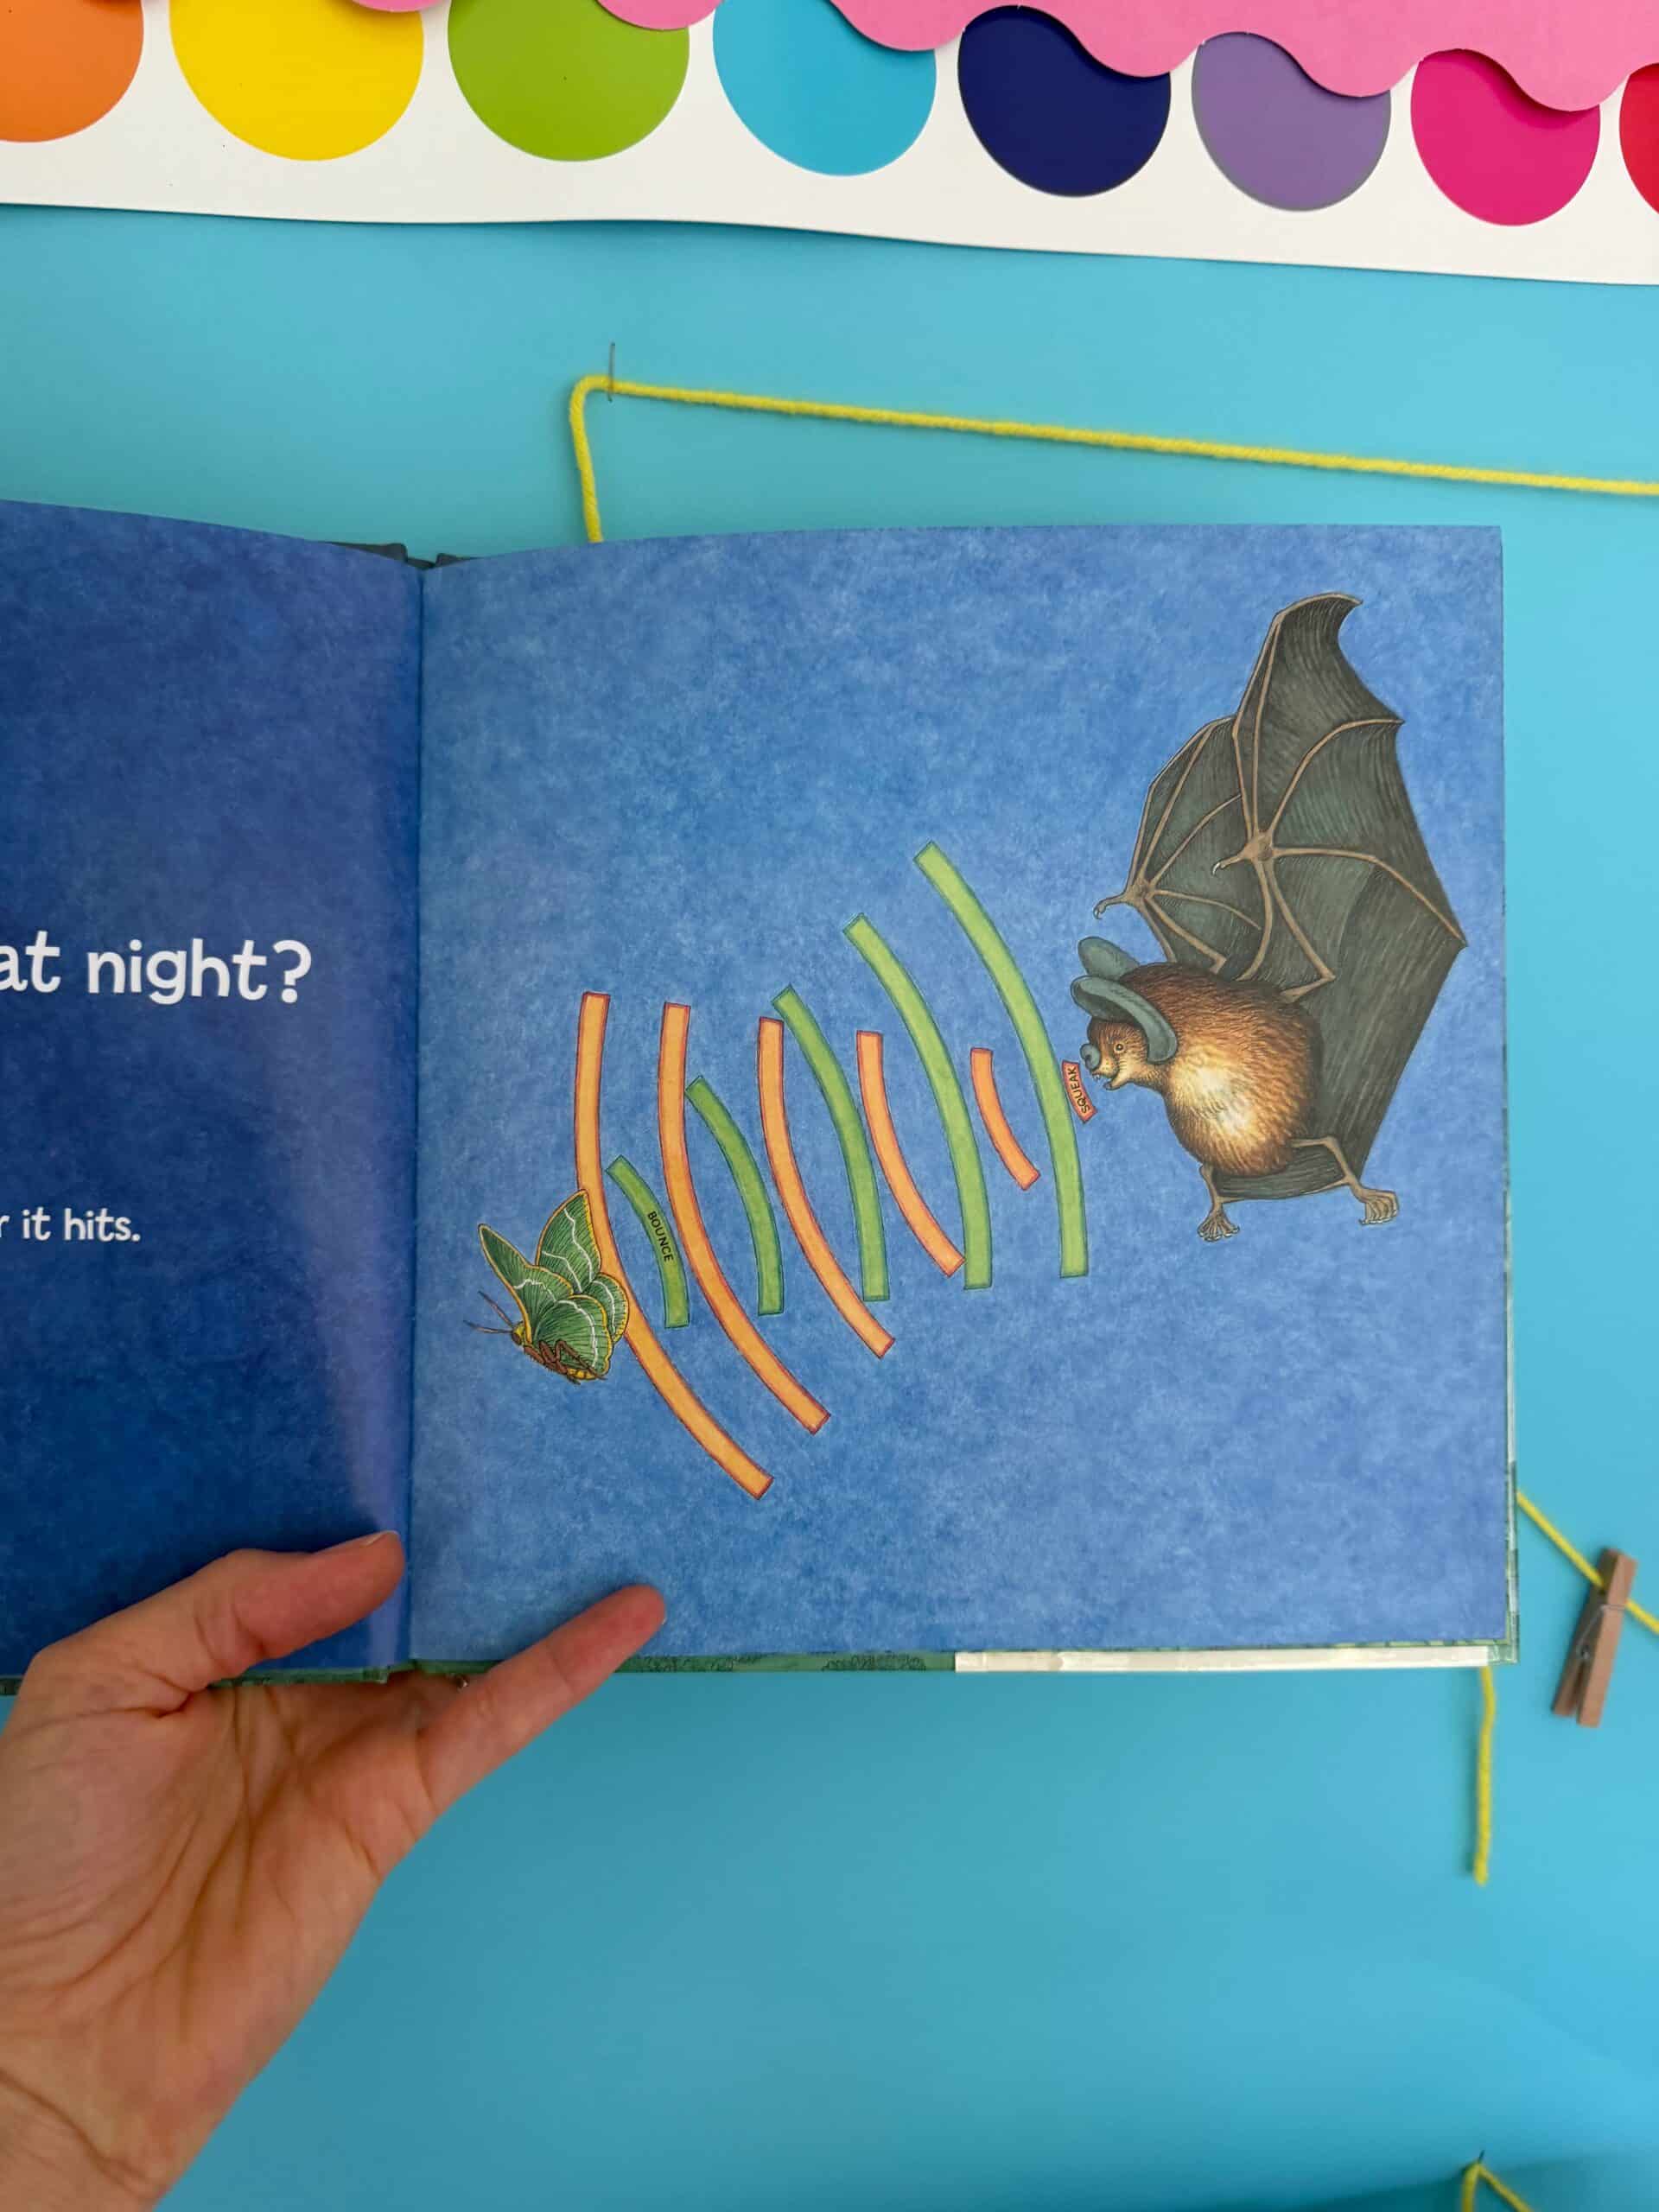
After reading, have students draw their own model of echolocation. They can draw a bat, its sound traveling toward an object, and the echo returning.
Now you’re combining science, speaking and listening, reading comprehension, and writing in one meaningful lesson!
This activity can support several K-2 standards, particularly when you extend the experiment into conversations about sound.
For Texas teachers, TEKS 2.8(A) focuses on demonstrating and explaining that sound is made by vibrating matter and that vibrations can be caused in different ways.
For NGSS, 1-PS4-1 asks students to plan and conduct investigations that provide evidence that vibrating materials can make sound and sound can make materials vibrate.
You can also connect the lesson to CCSS speaking, listening, and writing standards by having students participate in collaborative conversations, make predictions, record observations, and explain what they learned from the investigation.
Science doesn’t have to mean reading a passage and answering questions. Our K-2 learners need opportunities to wonder, predict, observe, talk, and actually do science.
That’s exactly why I created my Fall Science Experiments resource.
This bat science experiment is one of 11 hands-on fall science experiments included in the resource.
Each experiment comes with:
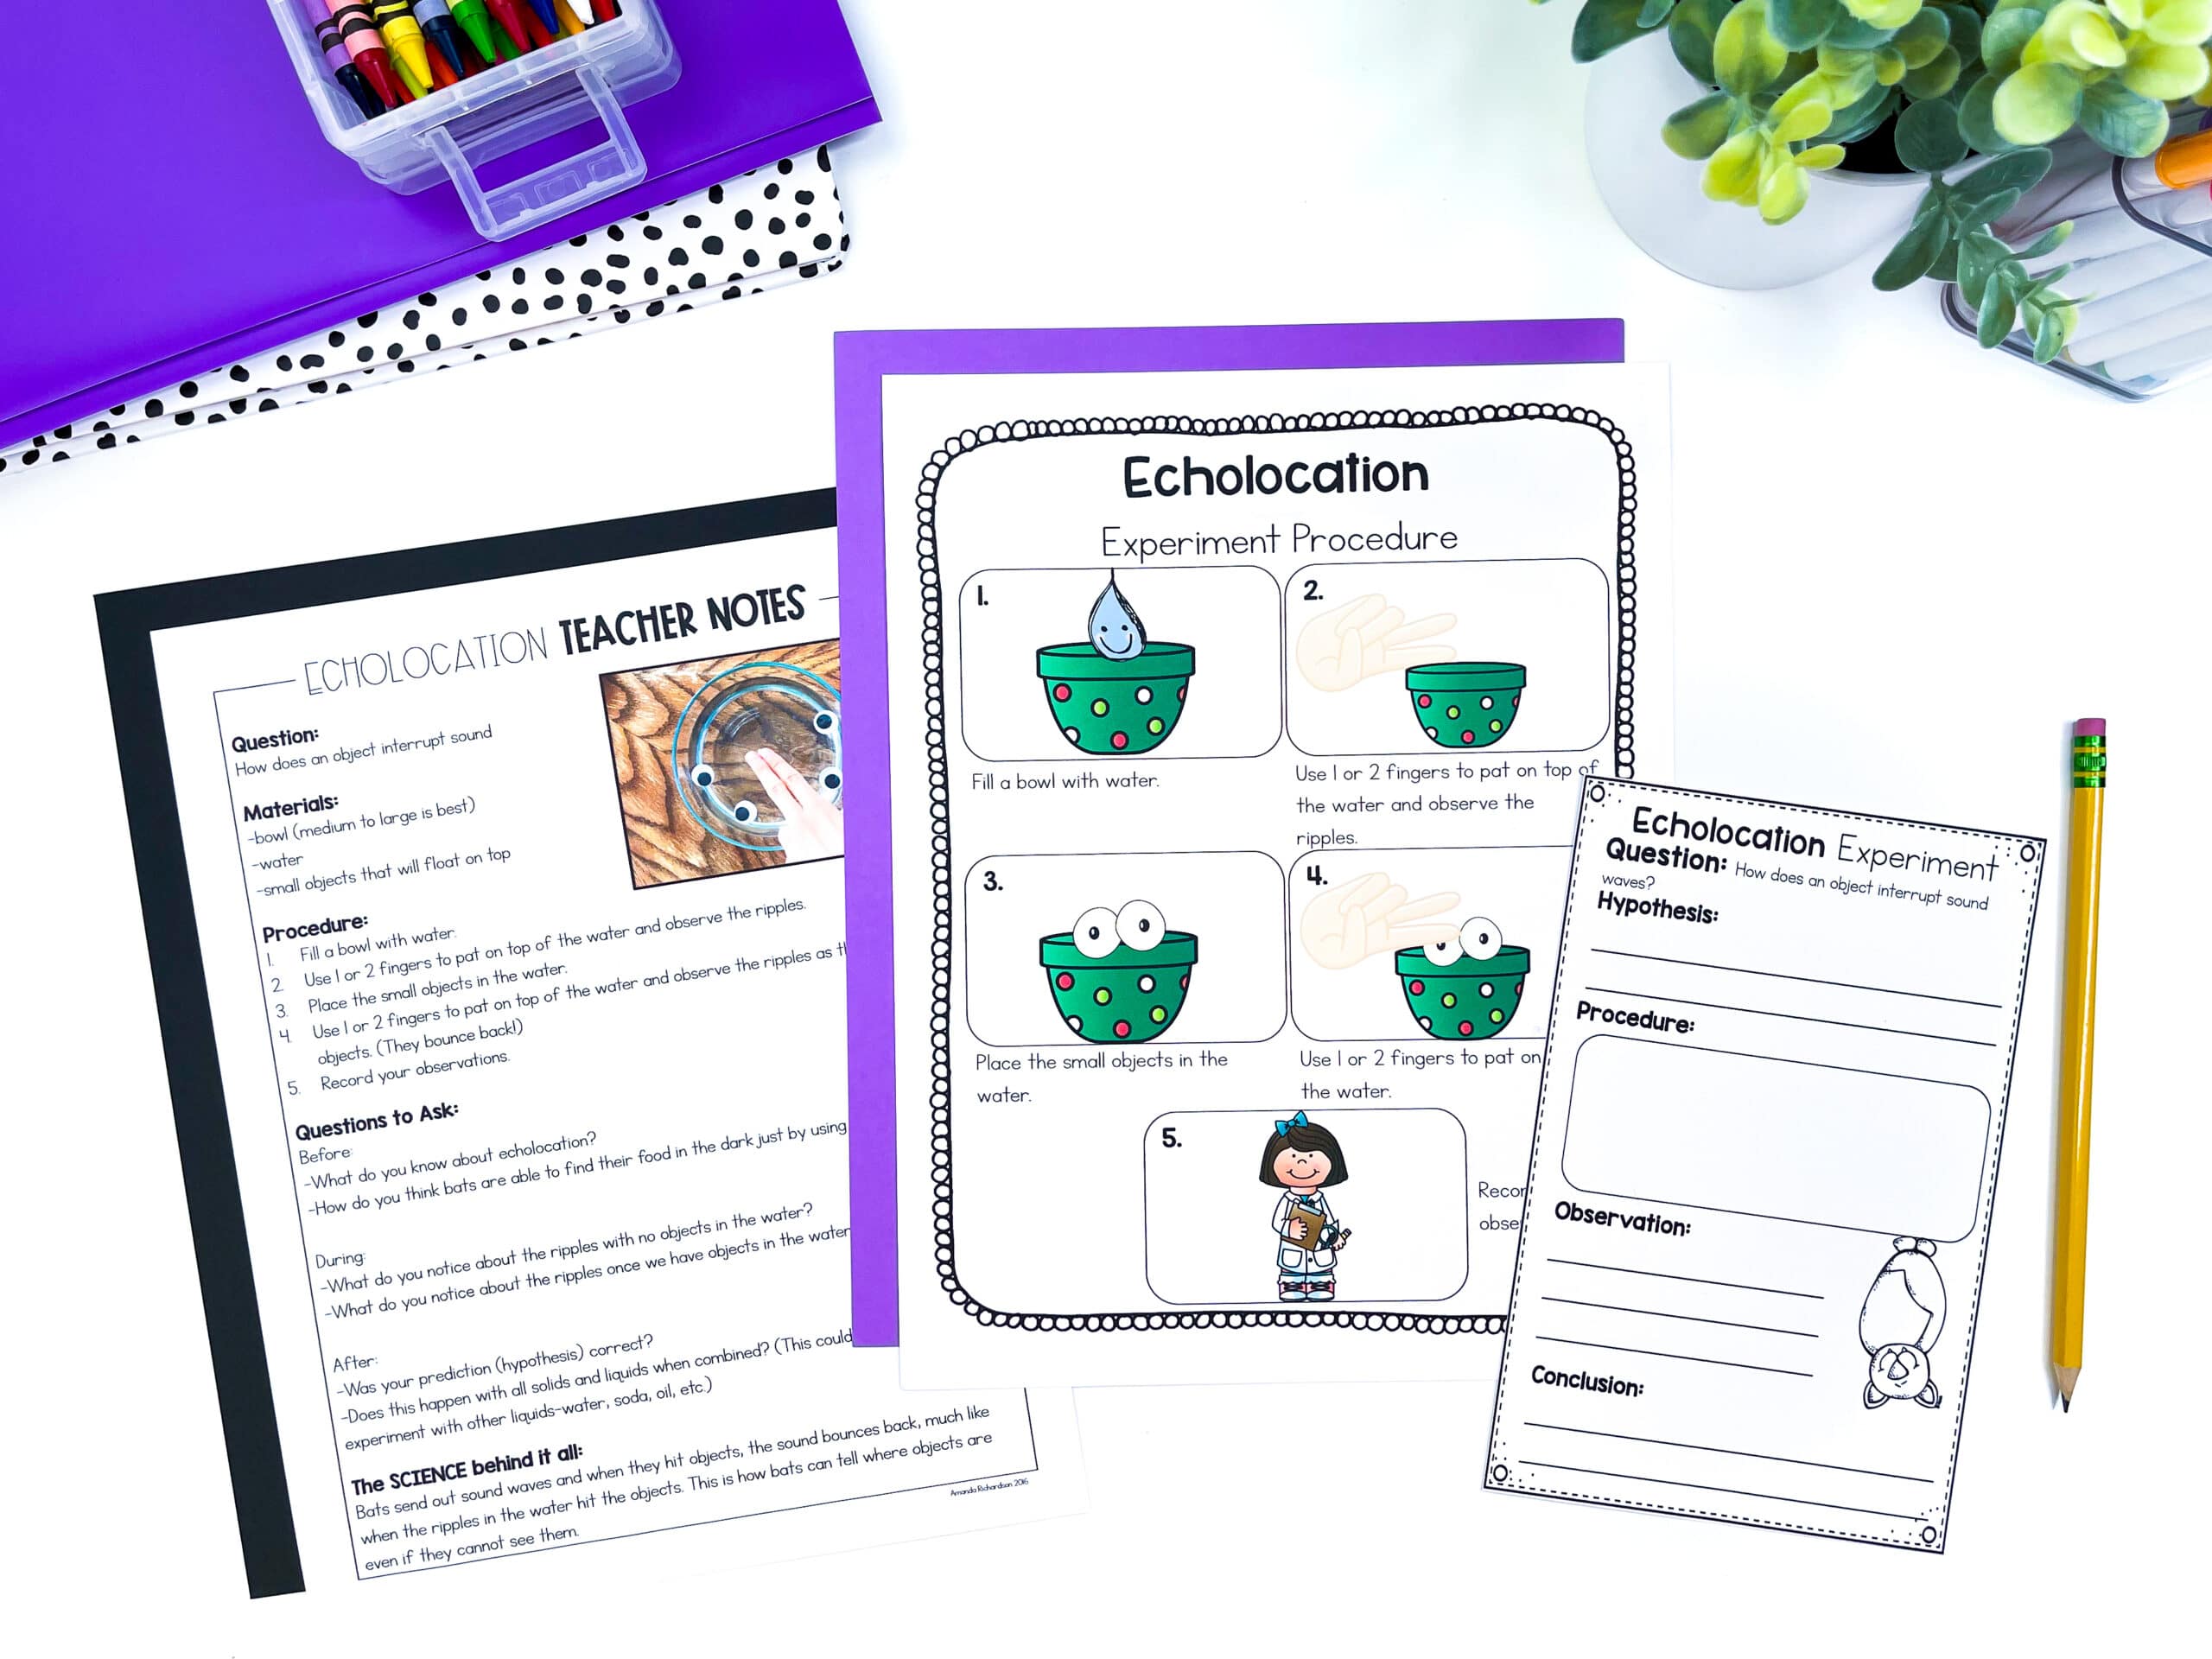
You can bring out the materials, gather your little scientists, and get ready for some serious observing, wondering, and learning with this bat science experiment and the 10 others!
Because when students can actually experience the science we’re teaching, those big science concepts start to make a whole lot more sense!